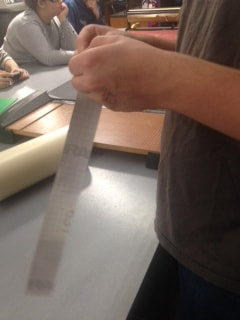
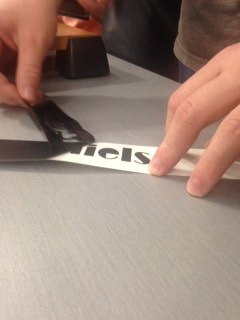
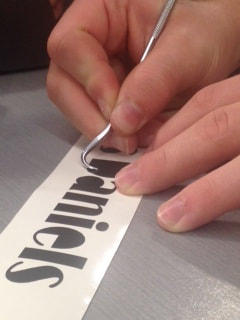
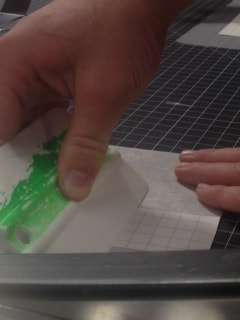
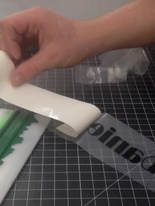
A tutorial on how to create and apply a vinyl decal of your name.Step 1. Creating Image in Illustrator For this short project we will just be using our names in a font of our choosing. Just type your name into Illustrator by using a text box (click the T icon) and selecting the font you would like (I chose Rockwell Extra Bold). 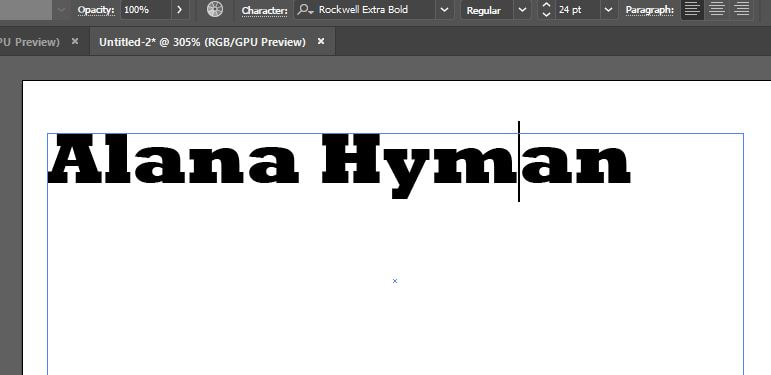 Step 2. Choose Vinyl Color,Register, and "Print". For this decal I chose matte black vinyl. Load the vinyl into the vinyl cutter. Be sure to register the vinyl correctly to allow the cutter to align the material properly. Then go to illustrator and print the image to the cutter. Once printed, cut your decal away from the rest of the material. You are now ready to begin the application process. Step 3. Remove Excess Vinyl Step 4. Placing the vinyl decal onto Transfer Tape.
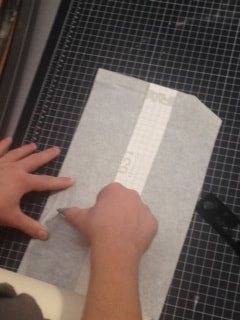
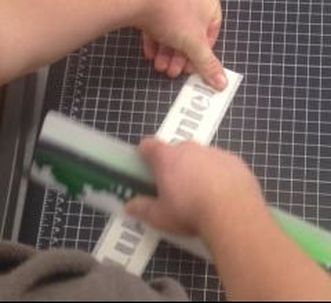
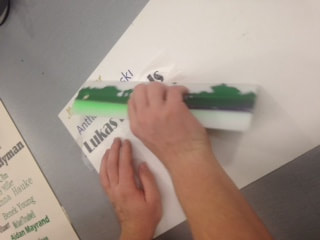
Step 6. Apply transfer tape strip to whatever surface you would like to apply your decal, making sure to use the squeegee thoroughly to stick the decal to the desired surface. Then peel off the tape carefully, re-squeegeeing where necessary, and you're done!
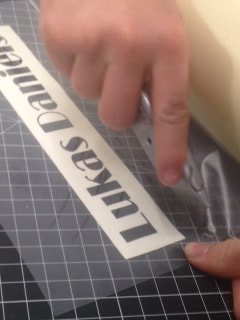
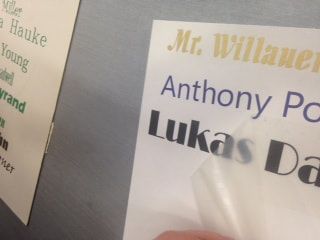
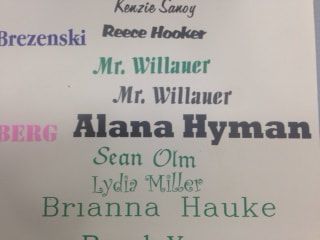 My Name as a Finished Vinyl Decal
0 Comments
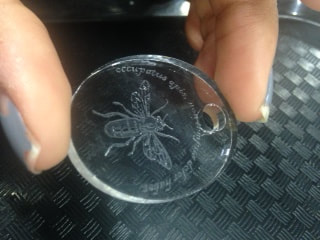
Here is a step by step tutorial on how to custom engrave your own key chain using a laser.Step 1. Find an Image Go into google images and search for any image you would like to have on your key chain. (I chose a honeybee). Make sure you go to "Tools" and select "Large" for size and "Black and White" for color. When you find an image you are happy with, save the image to a secure location. 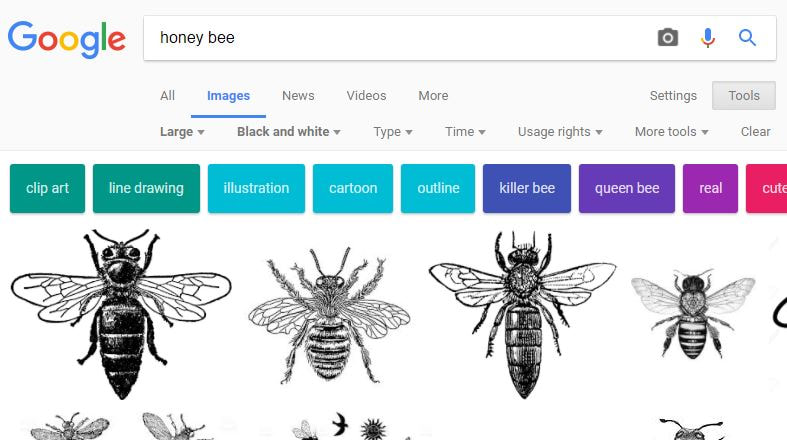 Step 2. Converting the file to a vector image using Adobe Illustrator. Open Adobe Illustrator and open a new document, "Art & Illustration," select custom and make your width 3, height 2.5, landscape orientation, and change the box to the right of the width box to inches. Click create in the lower right corner. Then go to File, Open and select your image file. Use the black arrow tool to move the image onto your work space, by holding the shift key and dragging the corner of your image in until it is the size you would like it to be on your key chain. Now go to Object in the toolbar at the top of the window, select Image Trace and click "Make and Expand". Now, when you move your pointer over the image several blue sections should appear. These blue sections will tell the laser where to engrave your image. 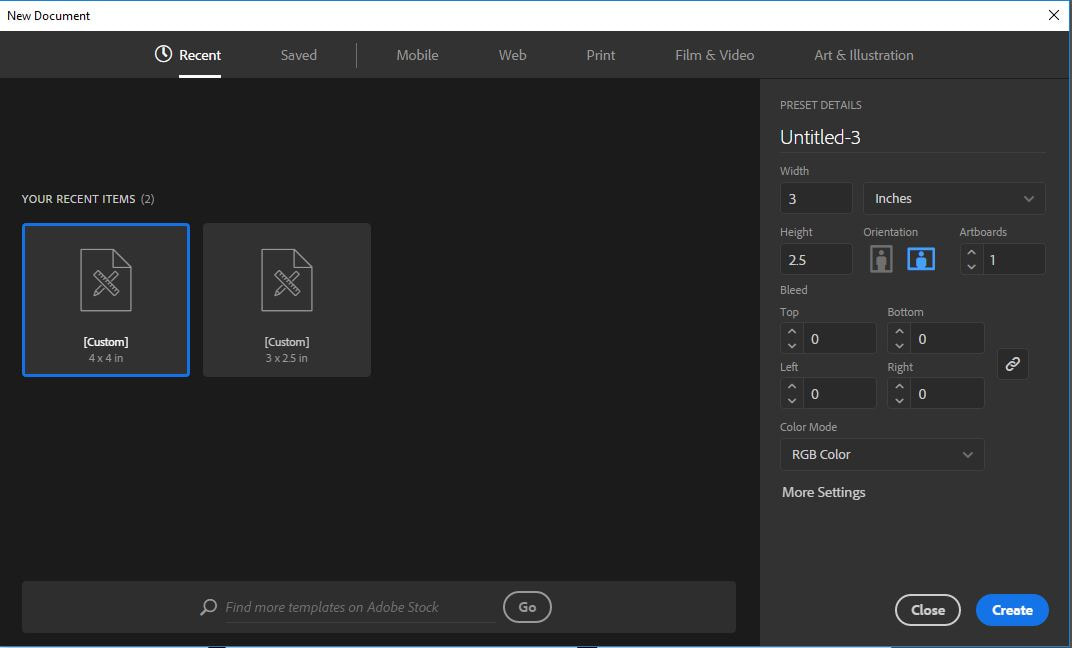 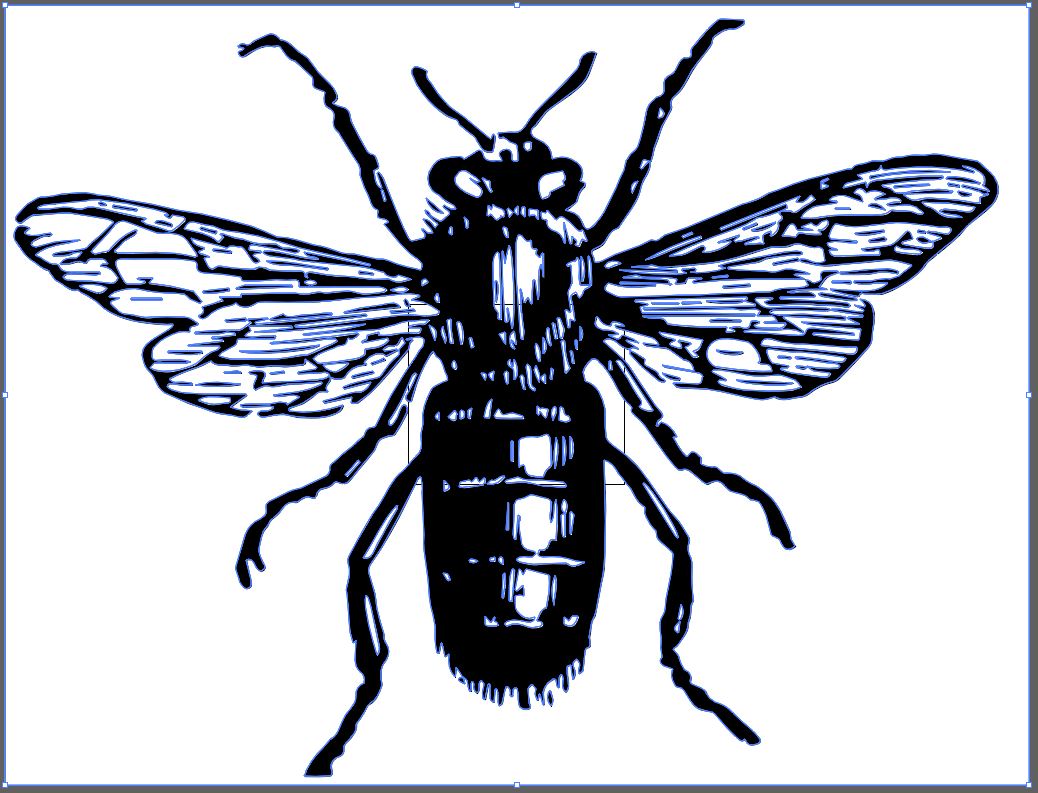 Step 3. Choosing the shape of your key chain. Right click on the rectangle icon, or shape tool, to view your range of shapes to choose from, I chose an ellipse. After selecting the ellipse tool I clicked on my work space and dragged the ellipse to my desired size. Then I made another ellipse but with a dimension of .25 by .25 inches for the hole to attach the key chain to my other keys (A box should pop up that will allow you to type in your dimensions for the smaller hole). You can move your image to be within the shape you have chosen by holding the shift key and using the black arrow to drag one of the outer corners of the image in, and/or using the black arrow tool to move your image around. You may even want to rotate your image, which you can do by clicking Object, Transform, and Rotate. I rotated my image 270 degrees. Step 4. Adjusting the outline of the key chain. The laser knows to engrave where there is blue, but also knows to cut all the way through where there is red. Since we want our hole and the outer edge of the key chain to be cut all the way through, we need to change the outer color of the line to red. To do this, simply use the black arrow to select the outer line of the key chain shape, change the 1st color box to white with a red slash through it (meaning no color) and the second box to red. Do the same for the circle hole. Then you need to reduce the thickness of the these red lines. In the point box type ".0001" for both the outer edge and inner hole of the key chain. If it looks very faint, sketchy, and or uneven that's okay. 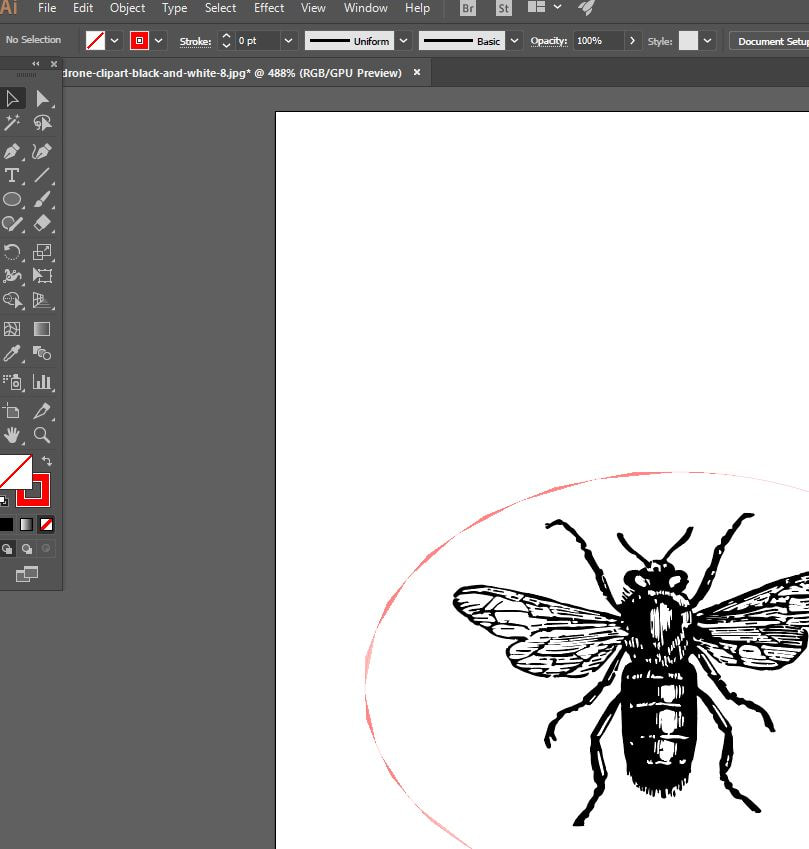 Step 5. Adding Text. To add text select the T icon and drag your pointer across the area you would like to add text. You may change the font and size of the text. If you need to rotate the text you may use the same steps as you did with rotating an image. For my key chain I wanted my text on a curved path. To do this, select the ellipse tool again and make the shape that you want the text to wrap around. Then right click on the T icon and select "Type on a path tool" and click on the shape you drew. The text box will wrap around your shape, and now you can type whatever you'd like into the highlighted space.  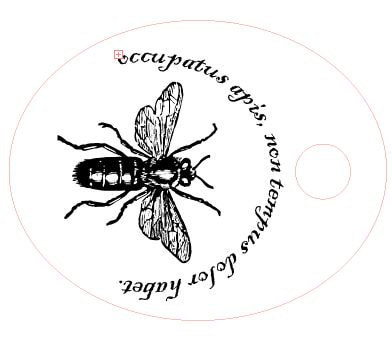 I chose a Latin phrase that loosely translates to, "The busy bee knows no sorrow." Step 6. "Printing" Key Chain. One you have arranged the elements of your key chain as you'd like them, go to File and print. Change the printer to VLS6.60 and click print. 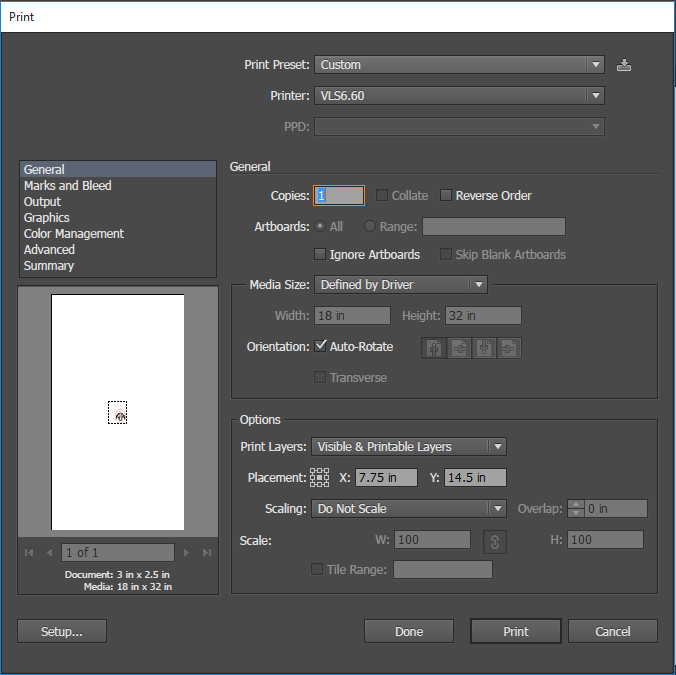 Step 7. Open up UCP Your image should appear on the work space. On the laser bed place your piece of acrylic in the upper left hand corner. 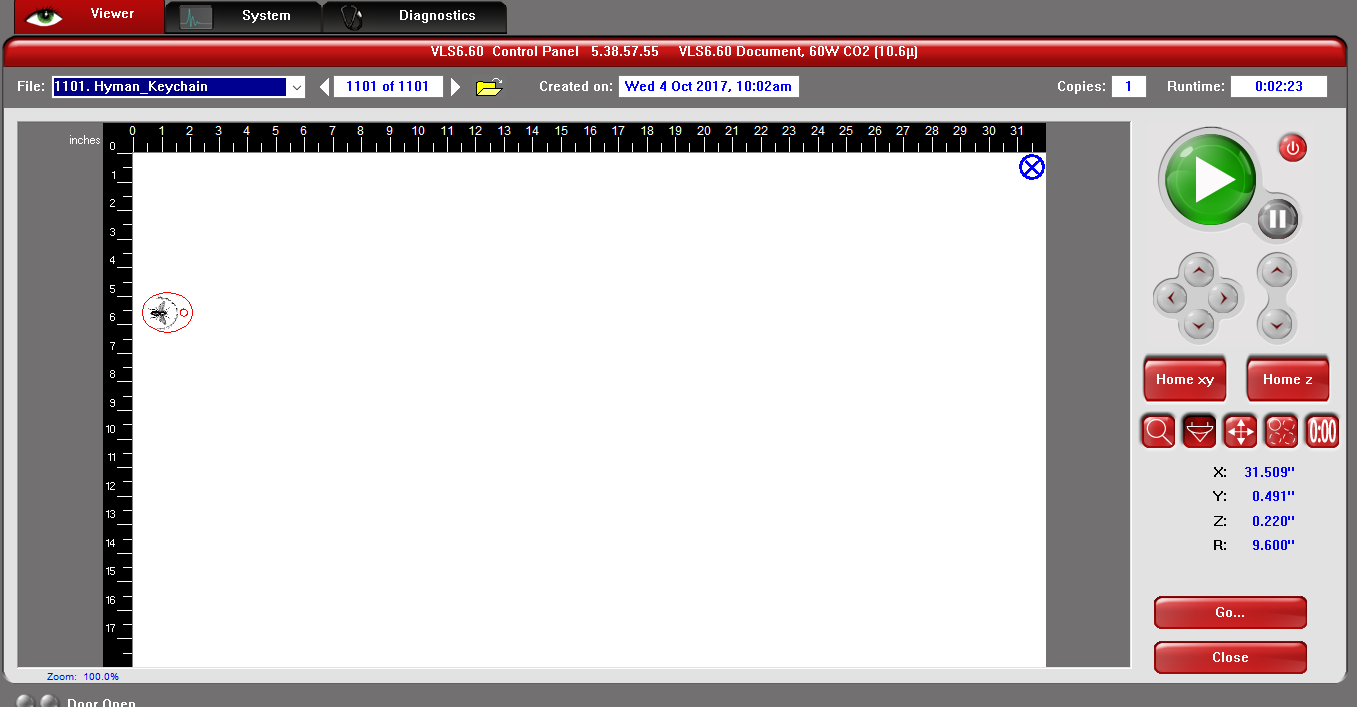 Step 8. Adjust Settings Go to the "relocate view" icon, select settings and make sure extruded acrylic is selected under acrylic plastic in the material database. Obtain a Digital Caliper and measure the thickness of the sheet of extruded acrylic you are going to use. record that value in the "material thickness" box. 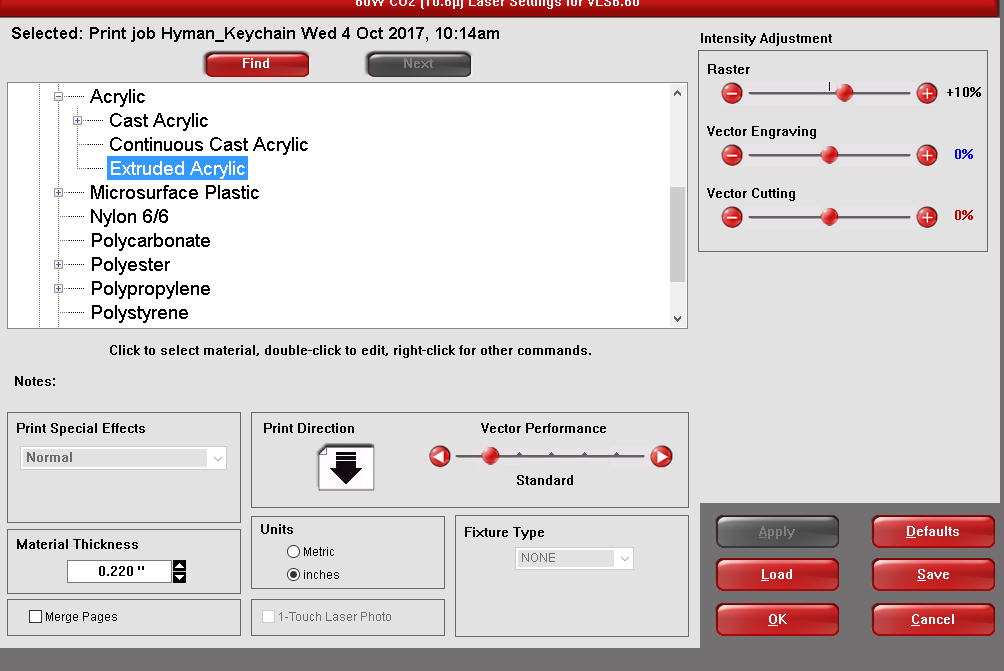 Step 9. Securing Acrylic On the laser bed, place your piece of acrylic in the upper left hand corner. Select the "focus view" icon and click anywhere in the upper left hand corner of your work space. Look at the laser bed to make sure the laser is on the acrylic. 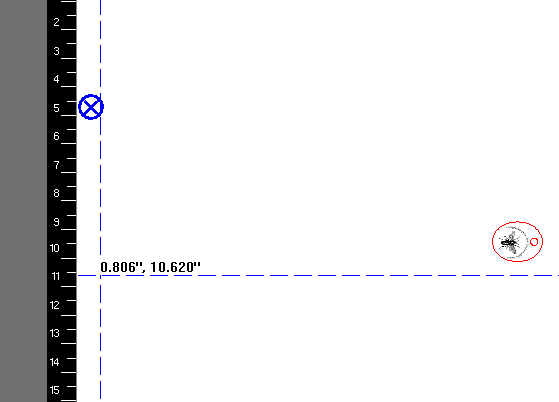 Then select the "relocate view" icon and click the upper left hand square that pops up around the image of your key chain. Now, select "to pointer" and your key chain image should move to align itself with where you left the laser pointer. Using the "focus view" tool click around the edge of your key chain, watching where the laser moves on the laser bed to make sure all edges of your key chain are on acrylic. MAKE SURE YOU HAVE THE EXHAUST FAN TURNED ON, and close the hood. Then you can press the play button and print! 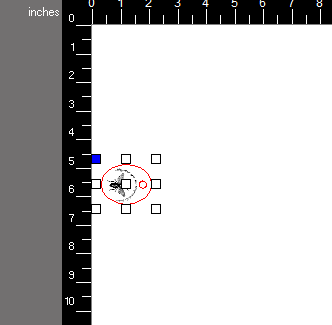 Summary of What I LearnedIn this introduction to using the Adobe Illustrator program with both laser cutting and vinyl cutting I learned the difference between a vector image and a graphics image and how to convert a graphic image to a vector image in Illustrator. I learned that a range of colors serve as a language that the laser understands (red means cut blue means engrave) and how to use the laser to engrave on flat surfaces. I also learned more about the versatility of vinyl and the possibilities an advantages of contour cutting.
|
What is Illustrator?"Adobe Illustrator is a program used by both artists and graphic designers to create vector images. These images will then be used for company logos, promotional uses or even personal work, both in print and digital form." In this class we use Illustrator to design vector files that are compatible with laser and vinyl cutting and laser engraving. ArchivesCategories |
 RSS Feed
