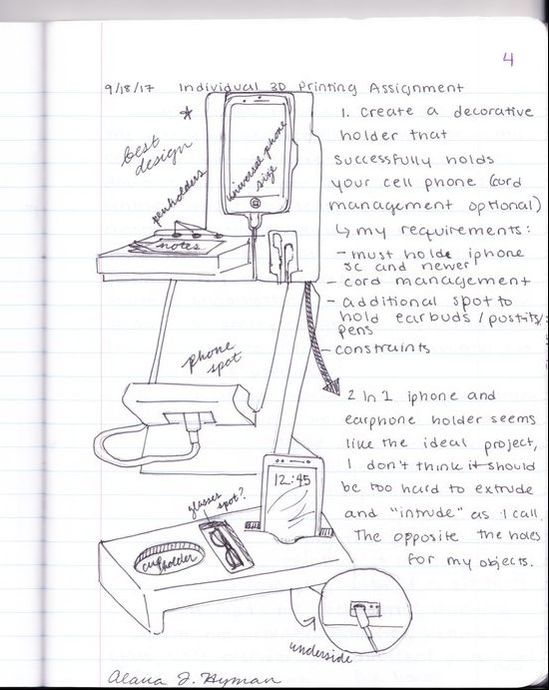
Task: Design a decorative holder that successfully holds your cell phone (cord management optional)
Brainstorming
|
|
For a while I started brainstorming what kind of phone holder I wanted to make. At first I was going to build a sort of charging station for my phone and then I thought, you know what I really need? A phone mount for my car! I've always wanted one of those things to hold my phone for GPS and music and now I can customize my own. I found a project named "Universal Phone Car Mount (www.thingiverse.com/thing:526257) and decided to base my own from that one. For the sake of simplicity I decided to build the actual mount from scratch and then print the vent clip as it was created by jasper_pues.
Printing Vent Clip
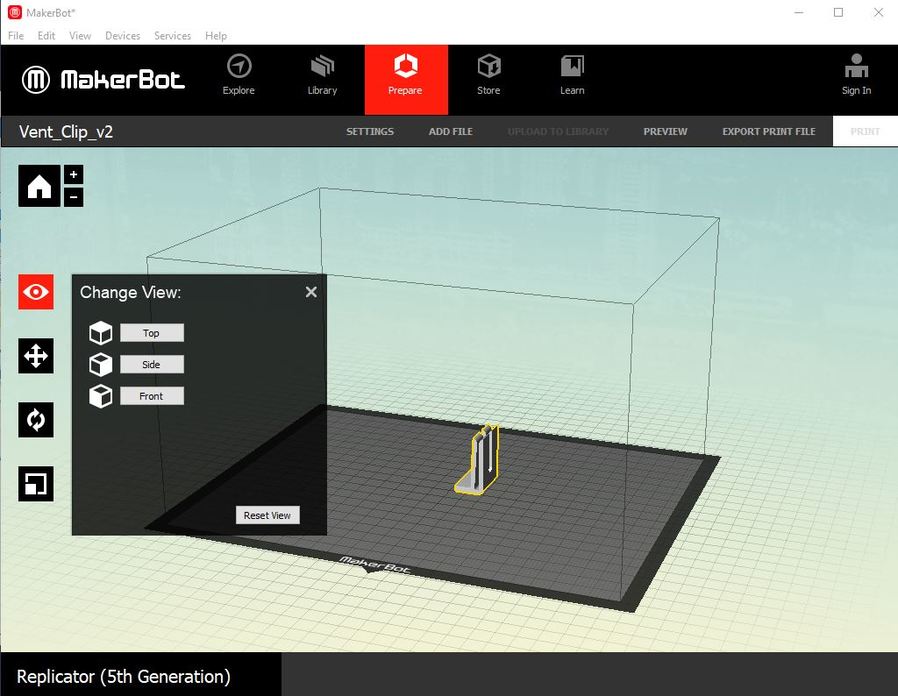
I opened MakerBot Desktop and imported the vent clip stl file. It was already converted to this file form and arranged in a way where there is minimum overhang. I still made sure to lay the clip flat and center my clip.
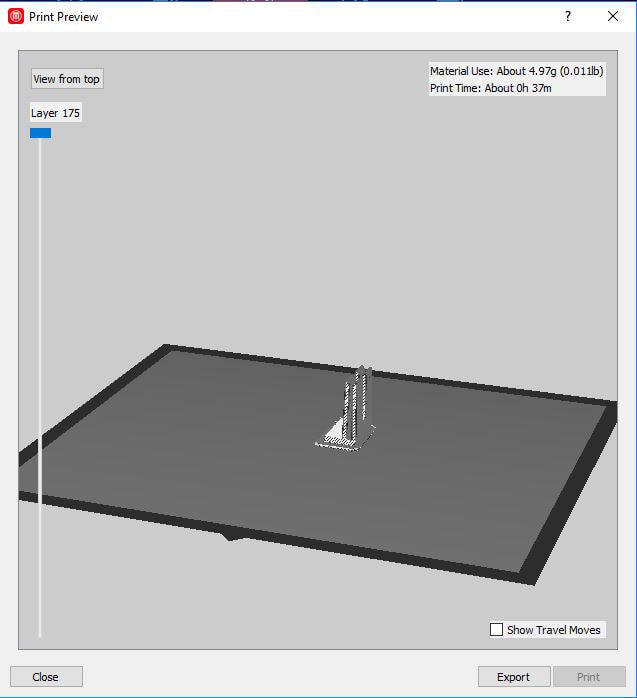
I then viewed the clip in print preview to see how long it would take to print and make sure that everything looked right.
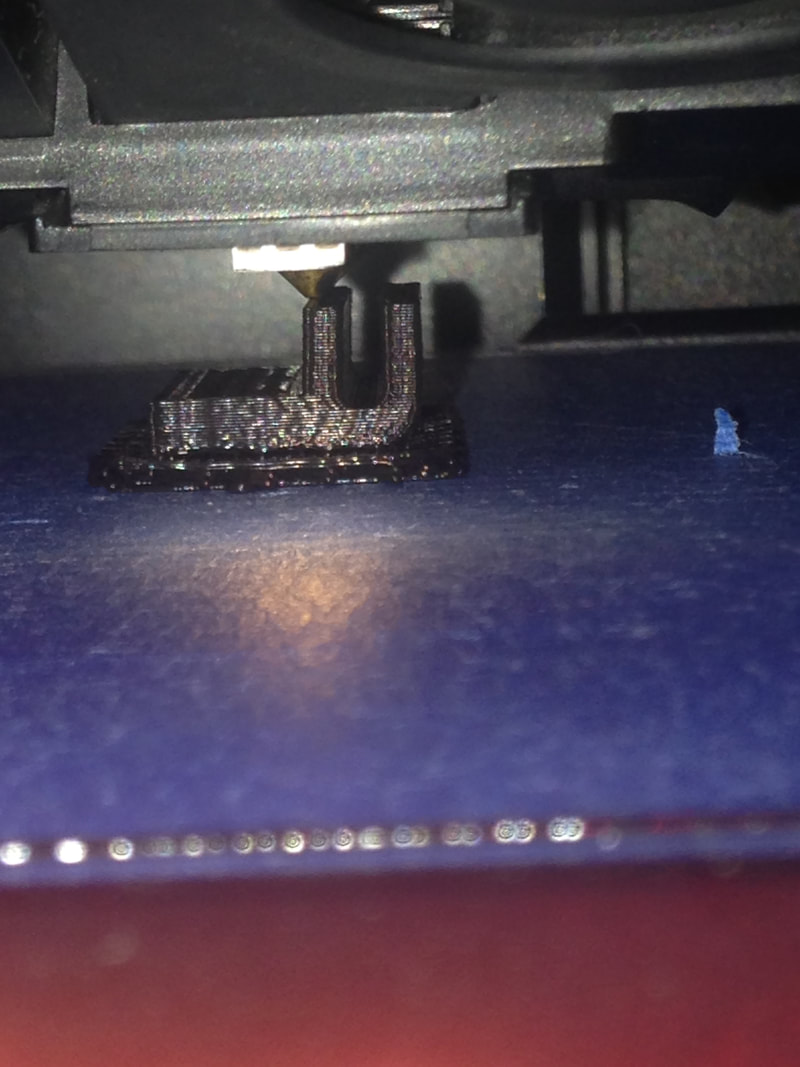
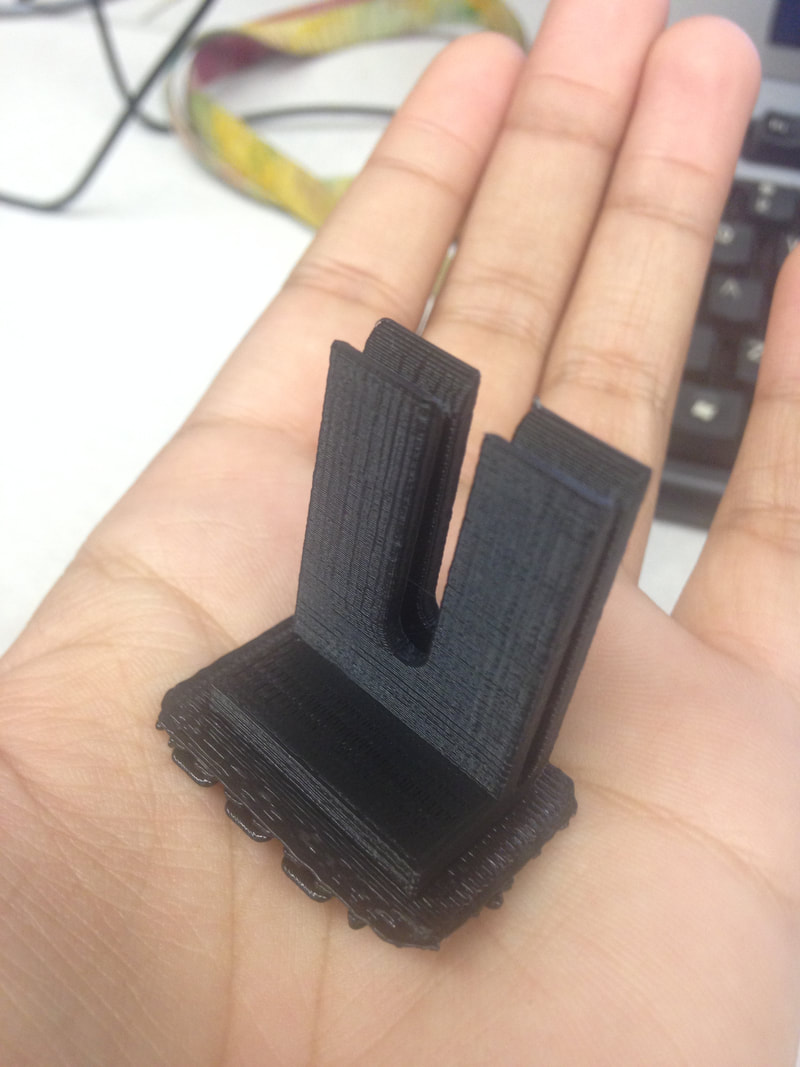
I exported the file to my USB flash drive and took the flash drive down to the printer. I chose black as my filament color, plugged in my USB, selected the file and hit print. The vent clip took about 37 minutes to complete.
|

|
Building My Phone Holder
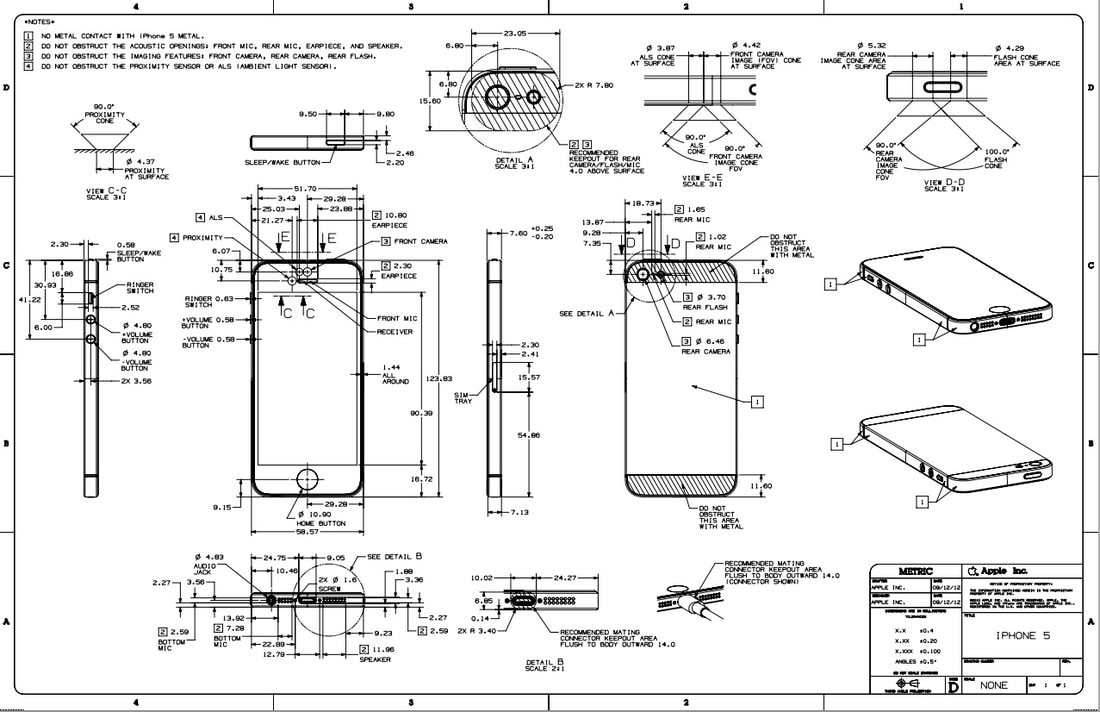
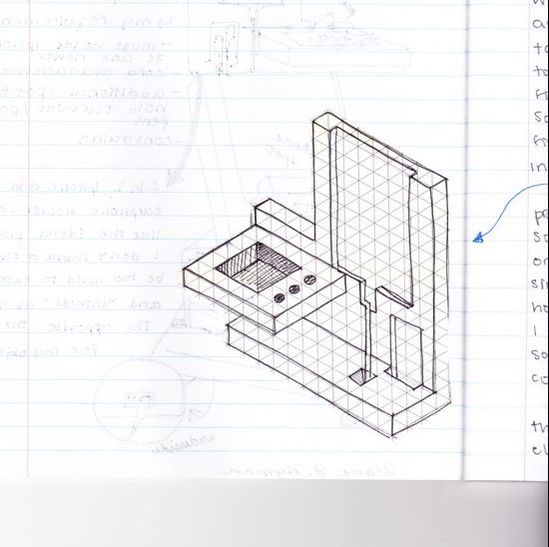
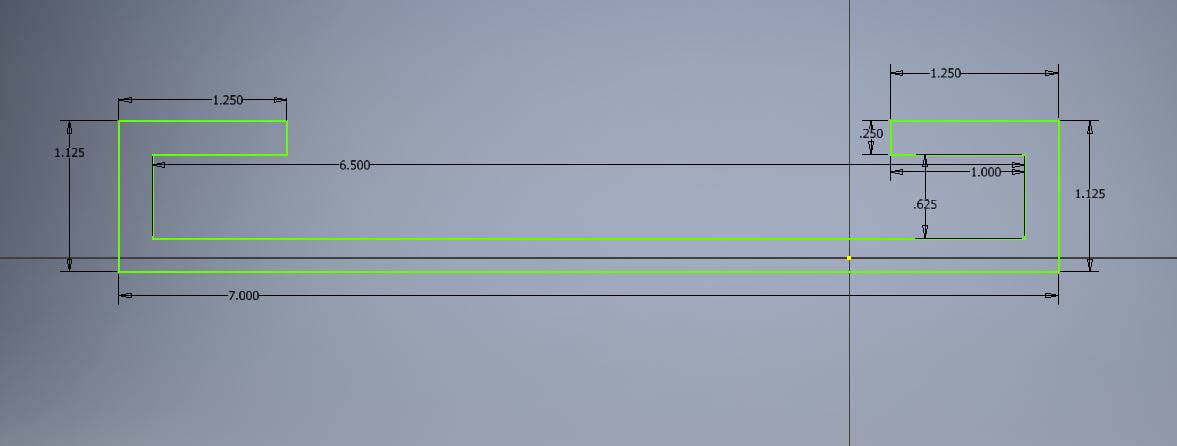
To personalize the phone holder section of my car mount I had to take a lot of measurements. First I wanted to make sure that iPhones 5 through the newest version could fit in the mount, as my parents sometimes drive my car and I want their phones to fit in addition to my iPhone 5c. So I did a little research and I decided to made the mount .25 inches thick all the way around, with the width of the interior being .625" by 6.5" and the exterior being 1.125" by 7" with two arms to secure the iPhone that come in 1.25 inches from each side. I drew a 2D shape with these dimensions in Inventor.
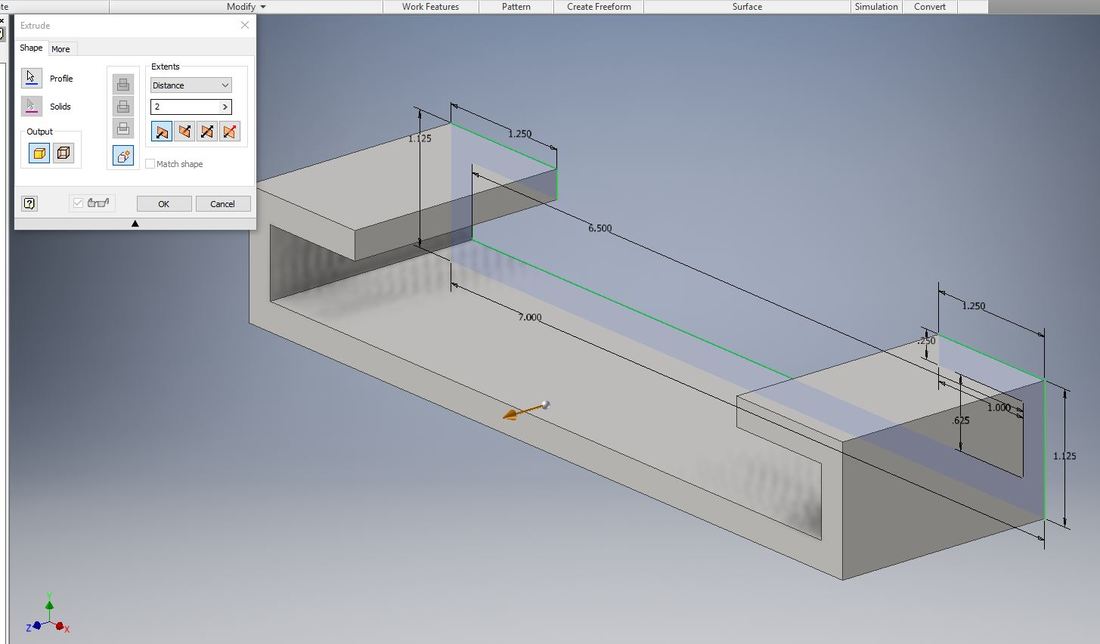
I extruded the sketch out 2 inches.
|
|
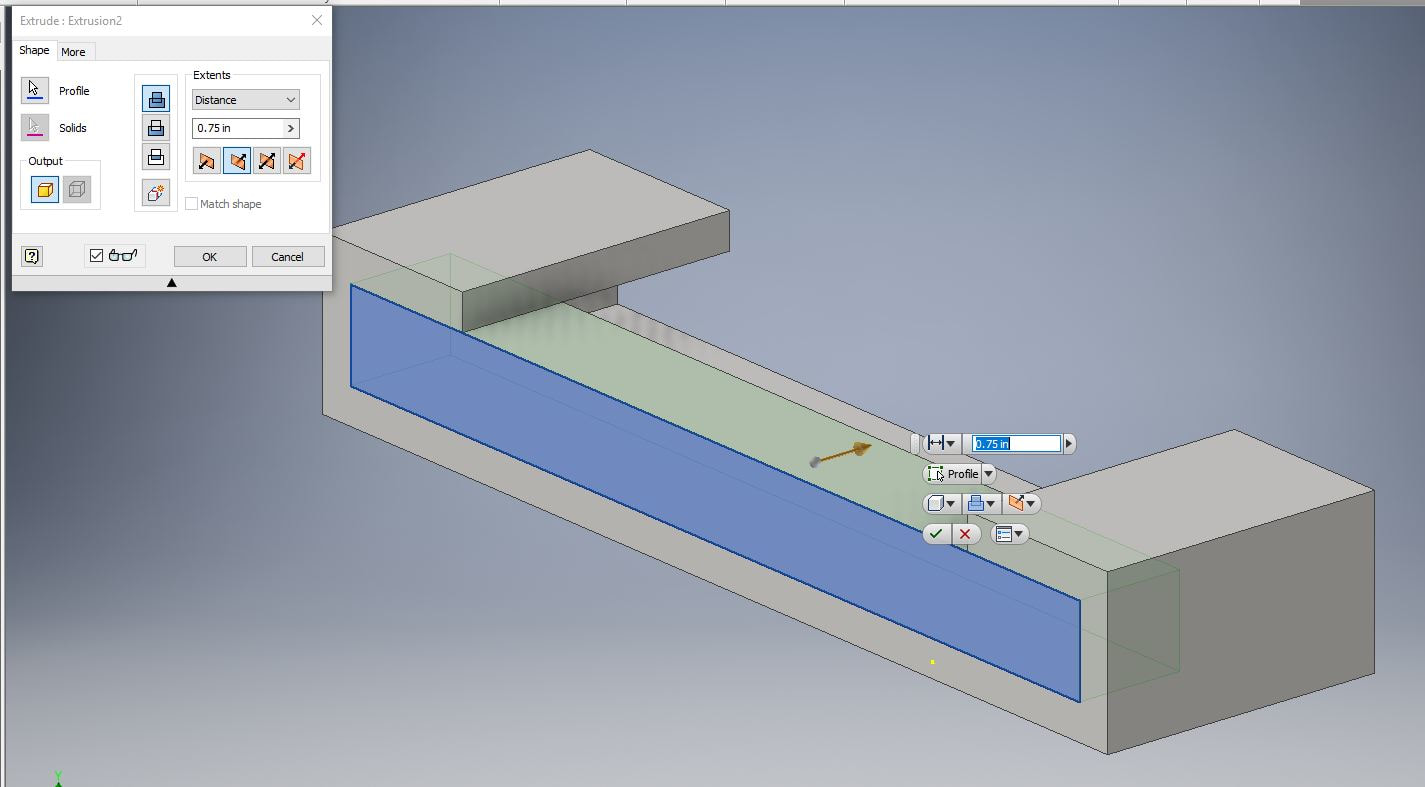
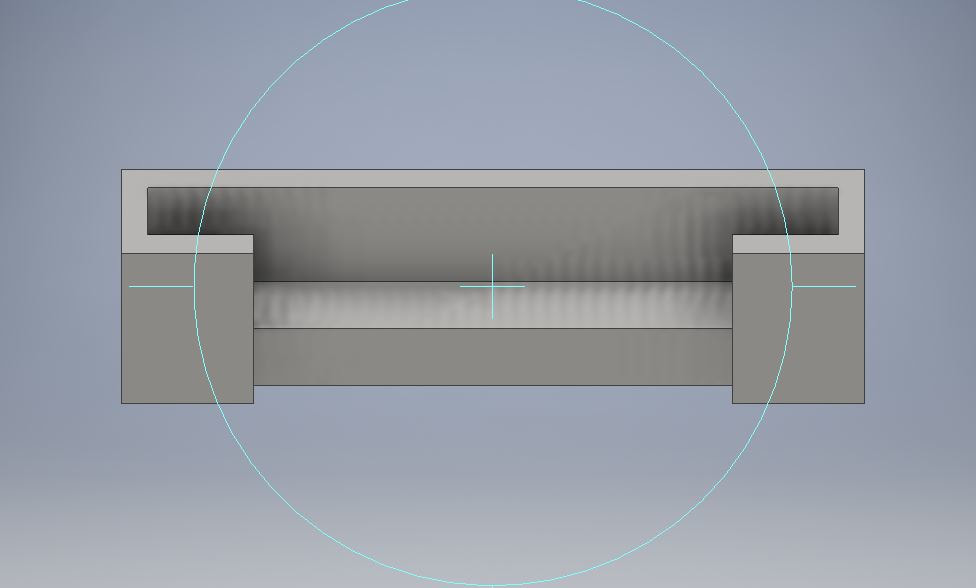
I then sketched a rectangle .625" by 6.5" on the bottom of the shape and extruded it .75 inches to make the bottom shelf for the phone to sit on.
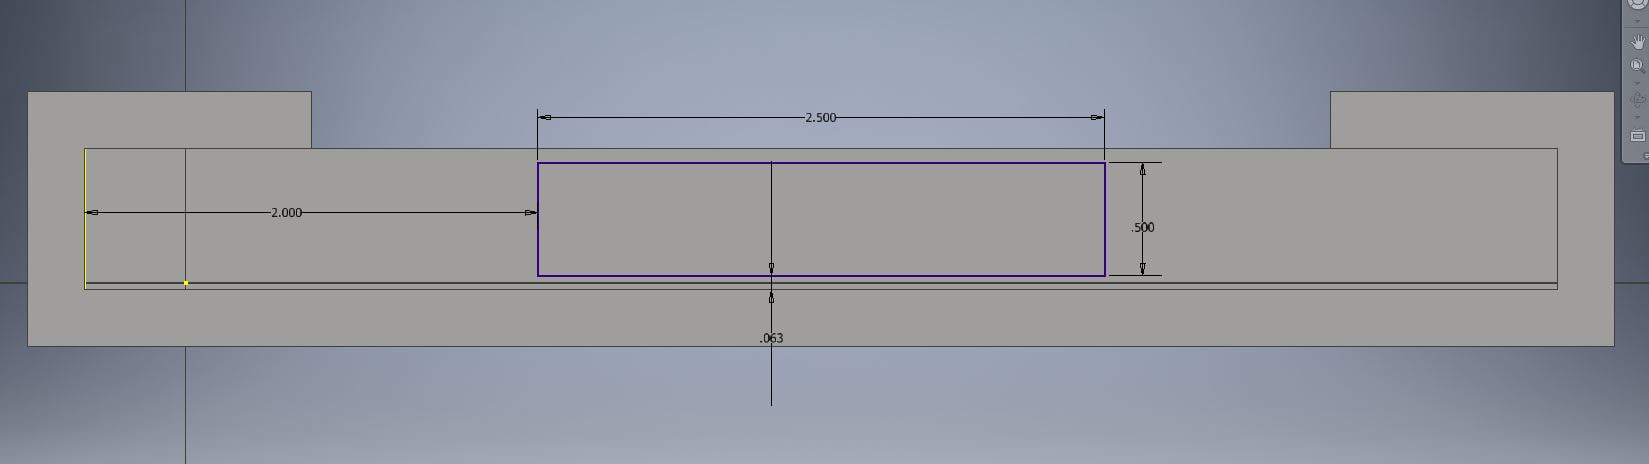
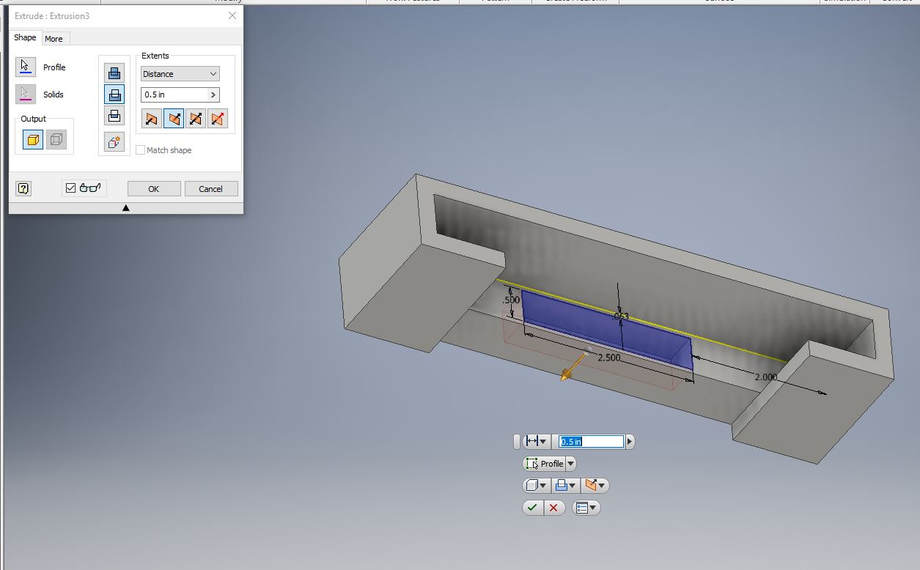
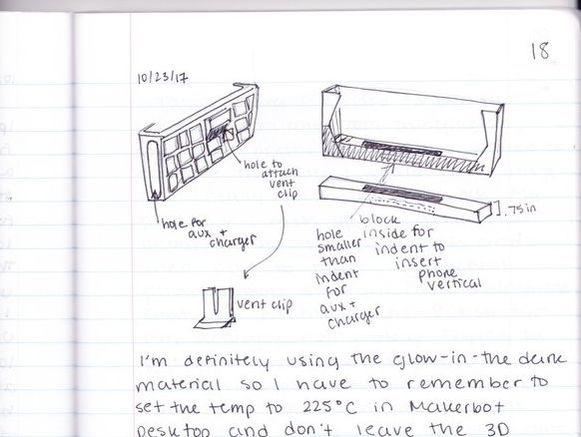
Now I sketched a .5" by 2" rectangle in the shelf, from the top face, and extruded it inward .5 inches. This hole is measure to fit only my iPhone 5c with a case.
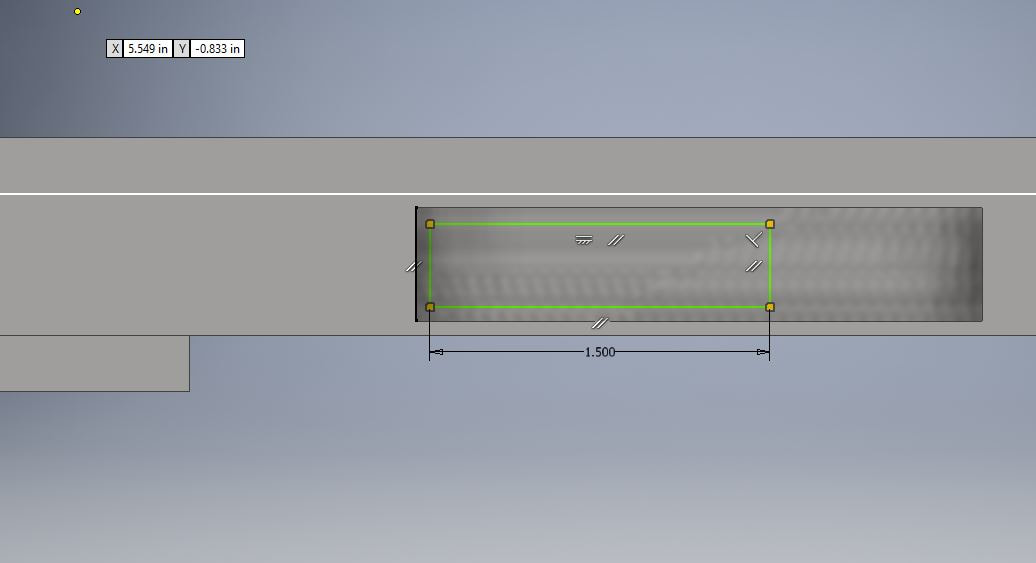
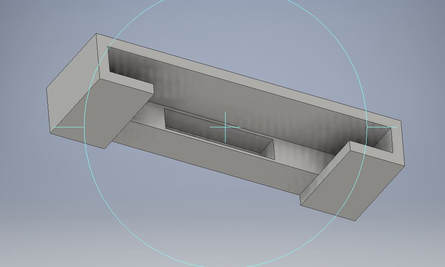
I arranged my screen so that I could see the hole I just created and sketched a rectangle 1.5" long.
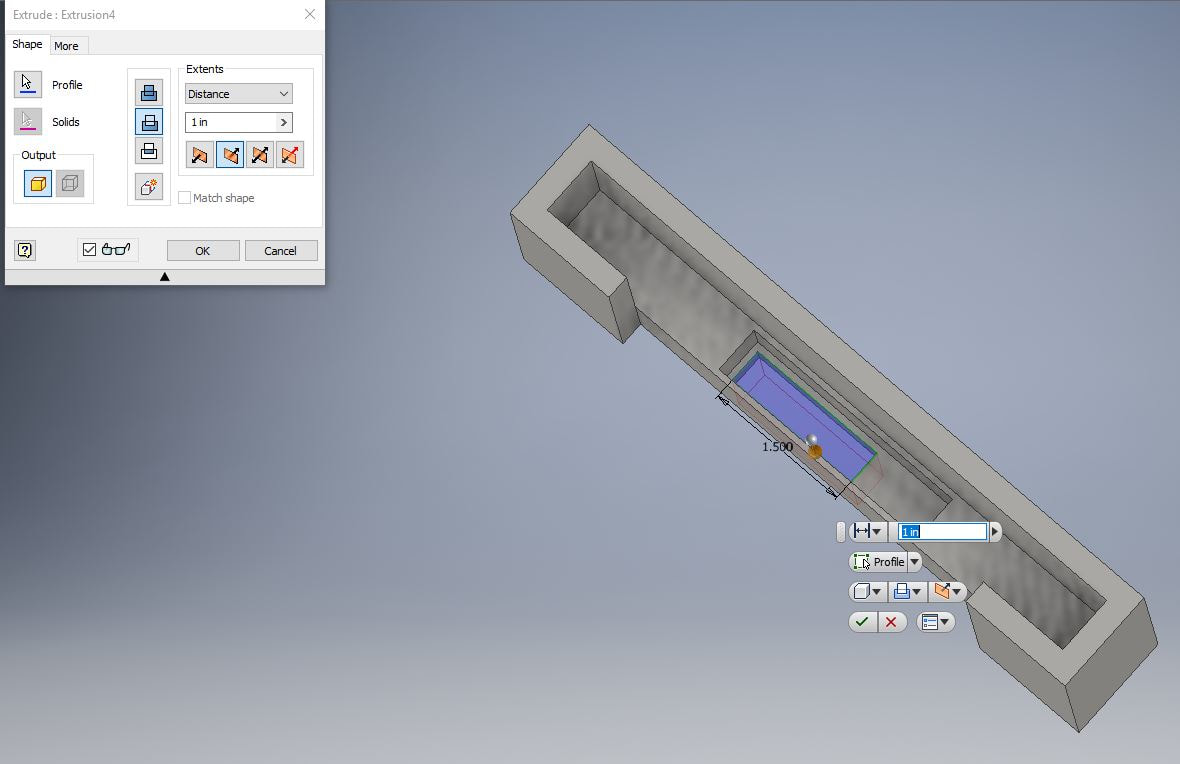
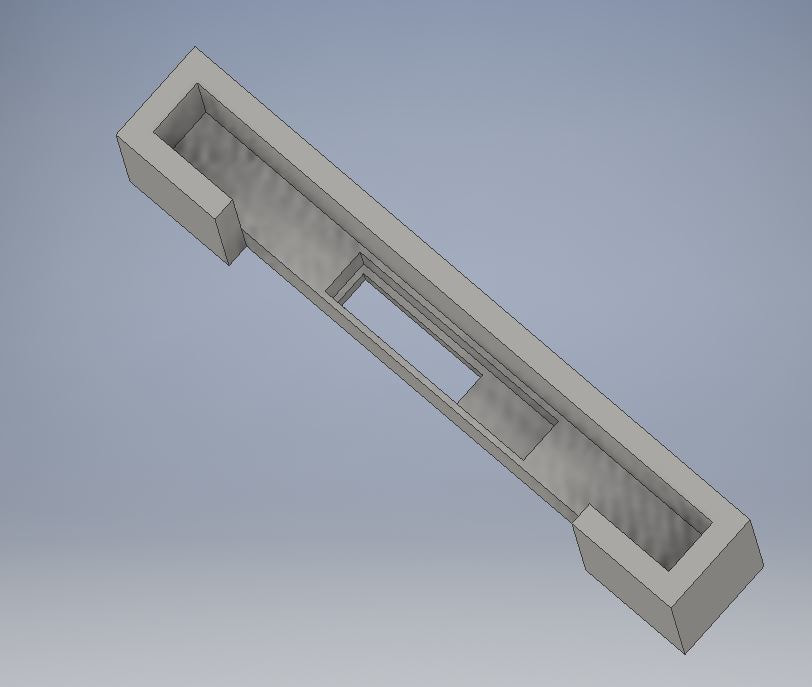
Then I extruded it 1 inch to cut all the way through. This hole is so that I can plug in my charger and aux cord through the bottom of the mount if my phone is upright.
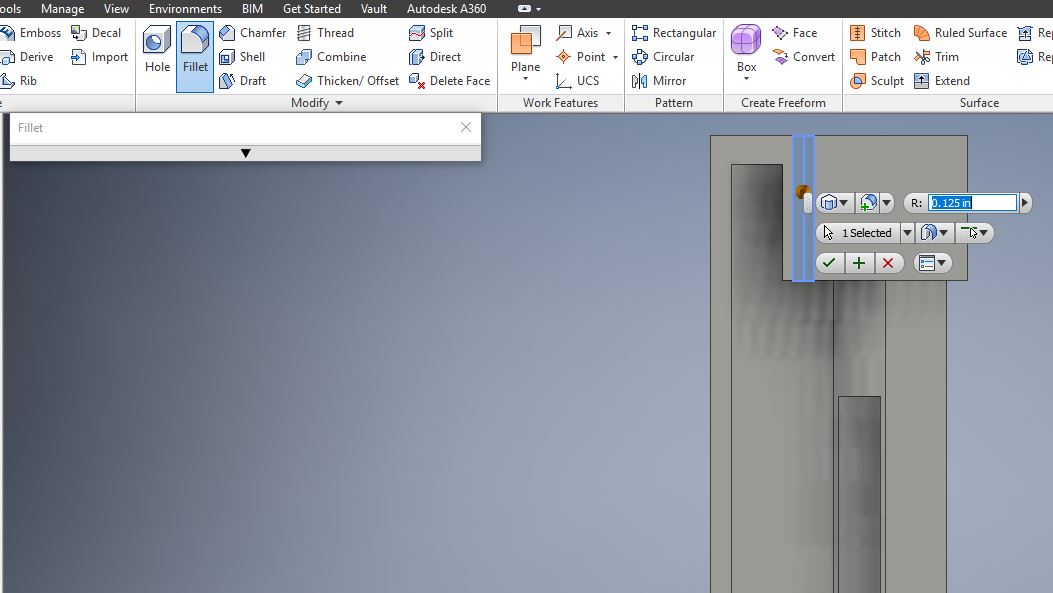
I always wanted to know what the fillet button did. I found out that it curves the edges of your object, so, for aesthetic purposes, I filleted all my edges.

Then, on one of the skinnier side walls, I started sketching the holes for the charge and aux cord (for any smartphone) to go through if the phone was mounted on it's side. I chose the slot tool under rectangle and sketched a slot with a diameter of .375 inches and moved the slot sketch up so that a half circle was above the top edge of the side wall.
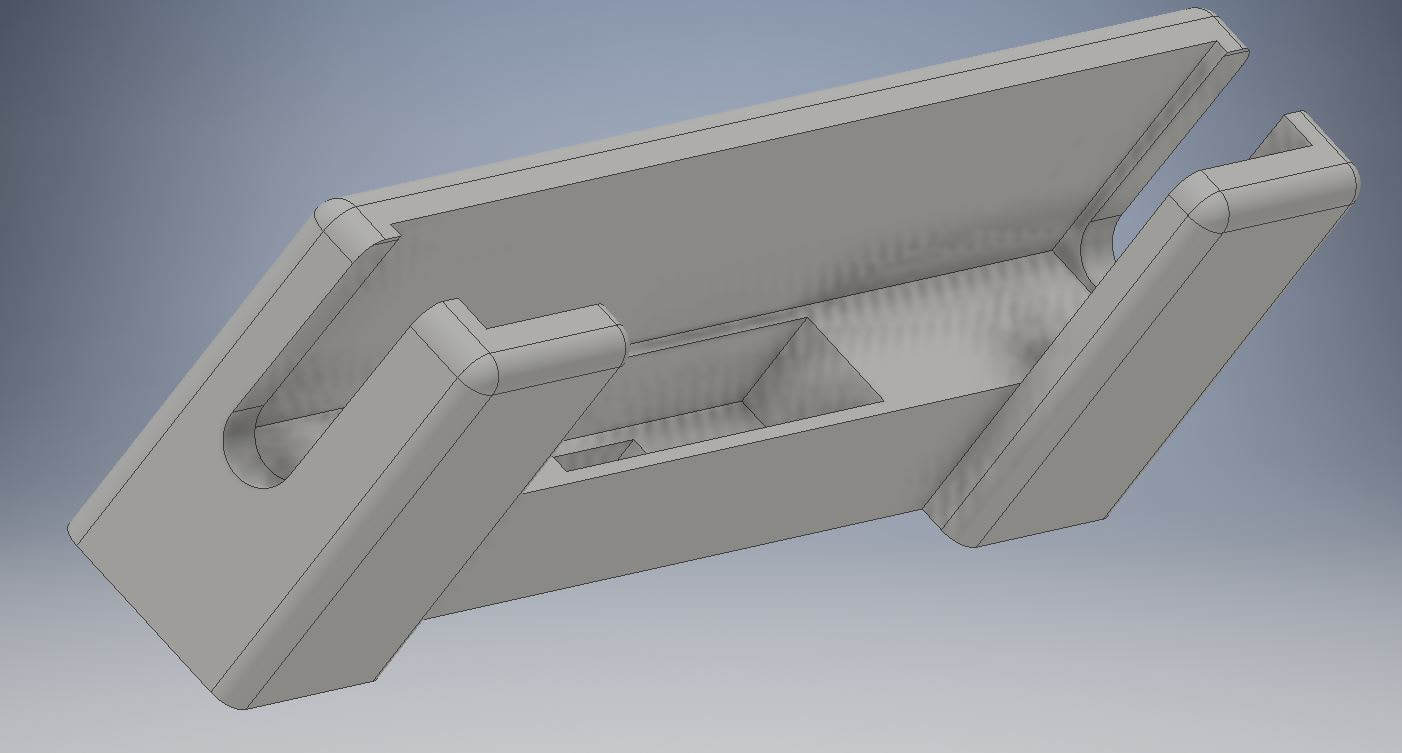
Then I extruded it 3 inches so that the hole would extend to the other side.

|
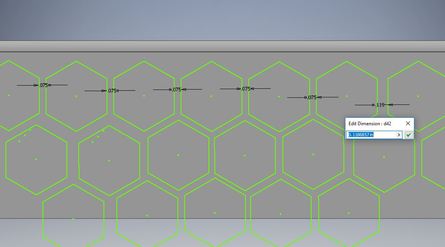
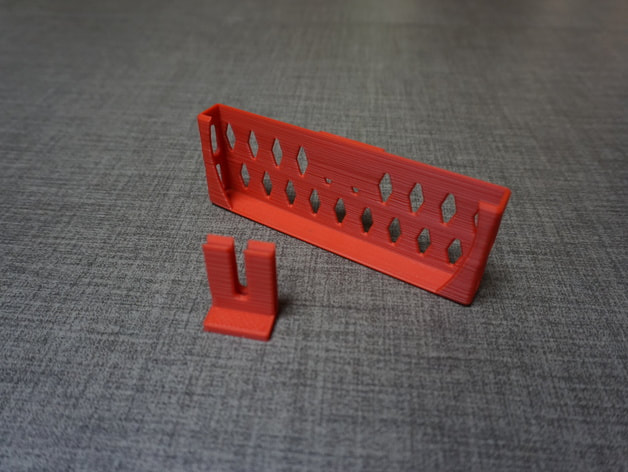
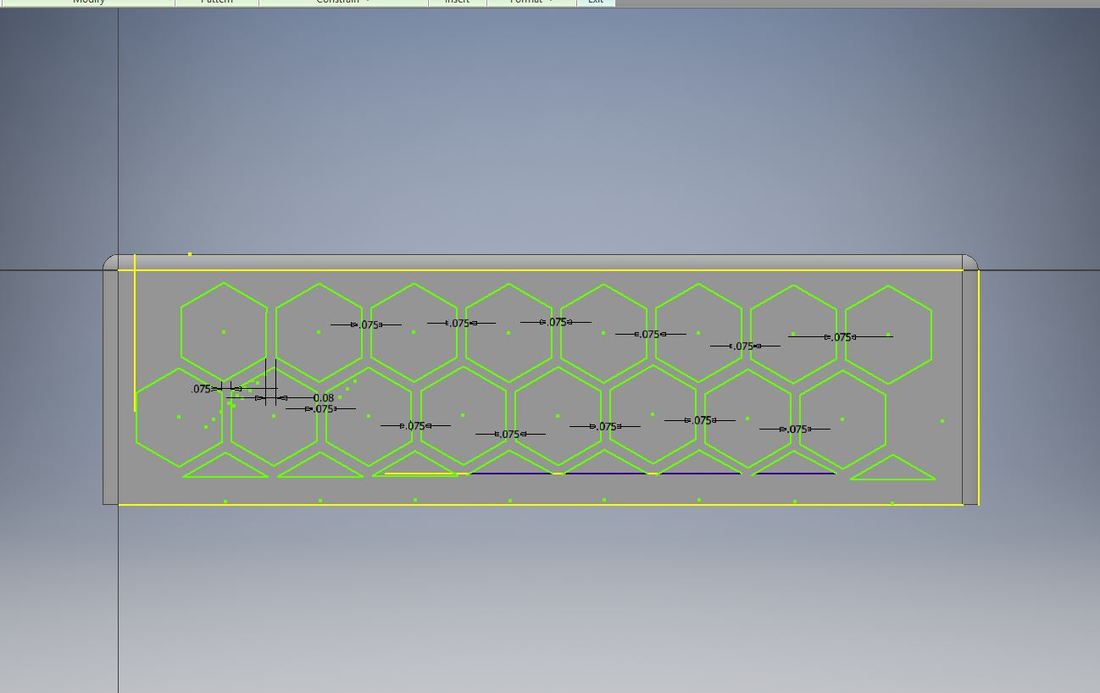
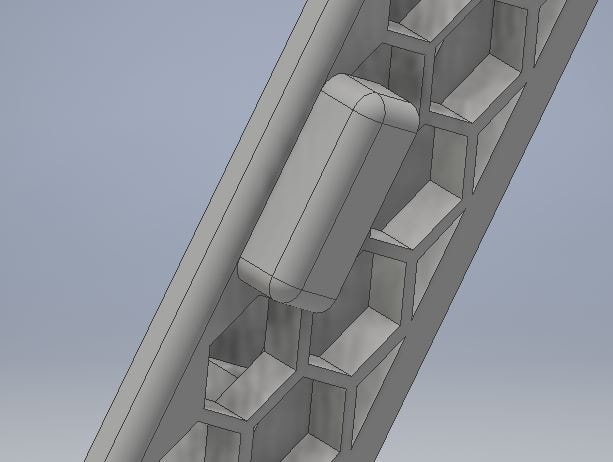
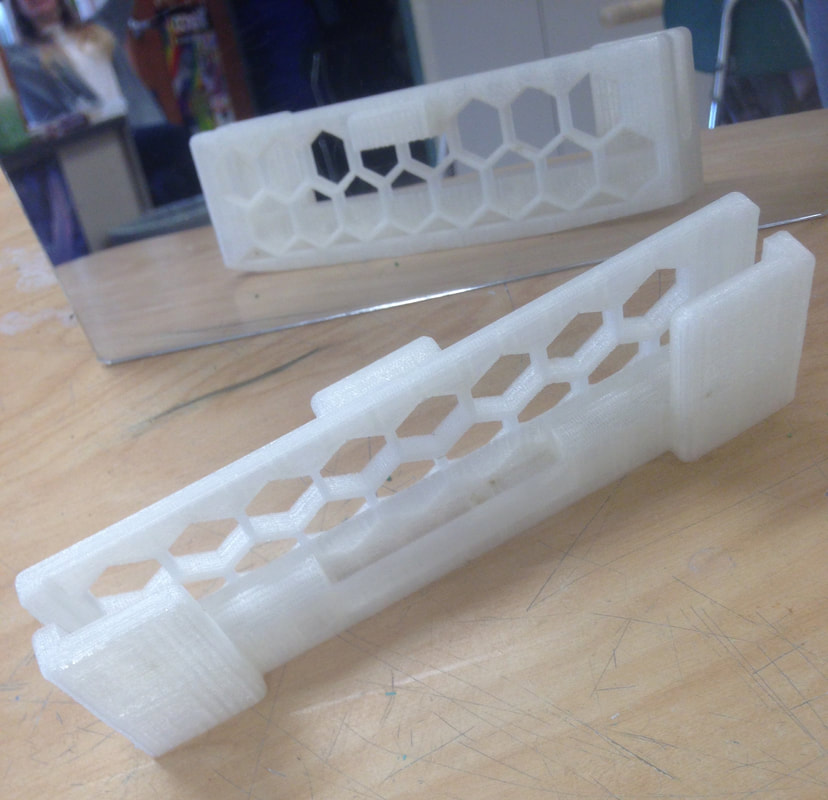
For decorations I used the polygon tool to create a honeycomb pattern that would also prevent the phone from overheating in the mount. I spaced each on .075 inches away from the other.
|
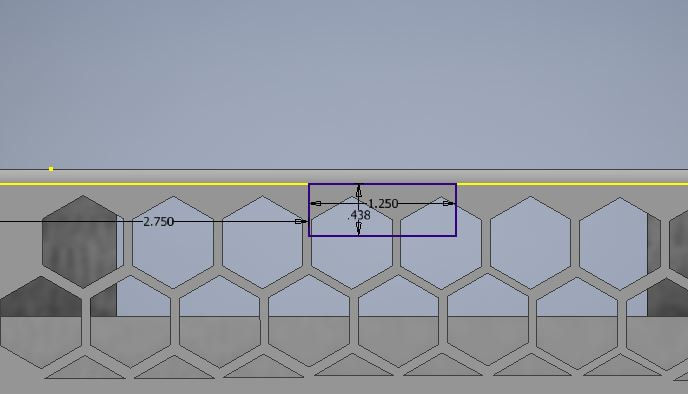
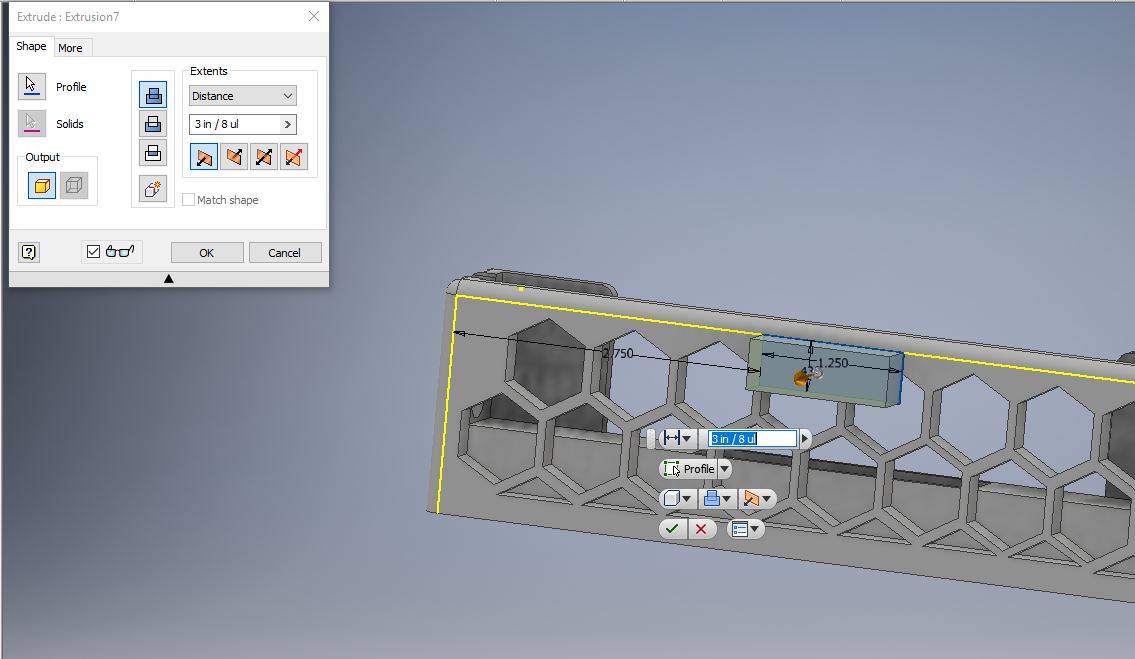
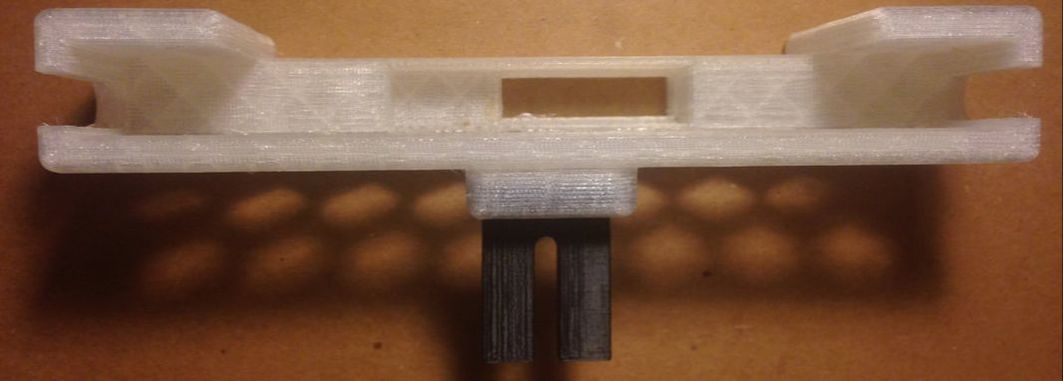
Then, I sketched a box for the vent clip to be attached to. After measuring my already printed vent clip, I calculated the needed dimensions of the wide face of the box to be .4375 inches by 1.25 inches. I extruded the sketch 3/8 inches.
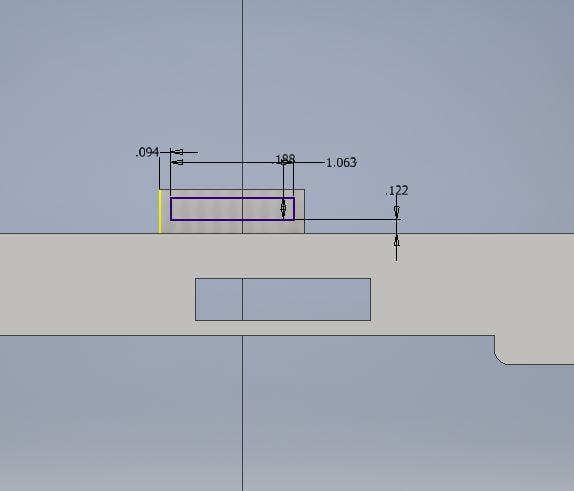
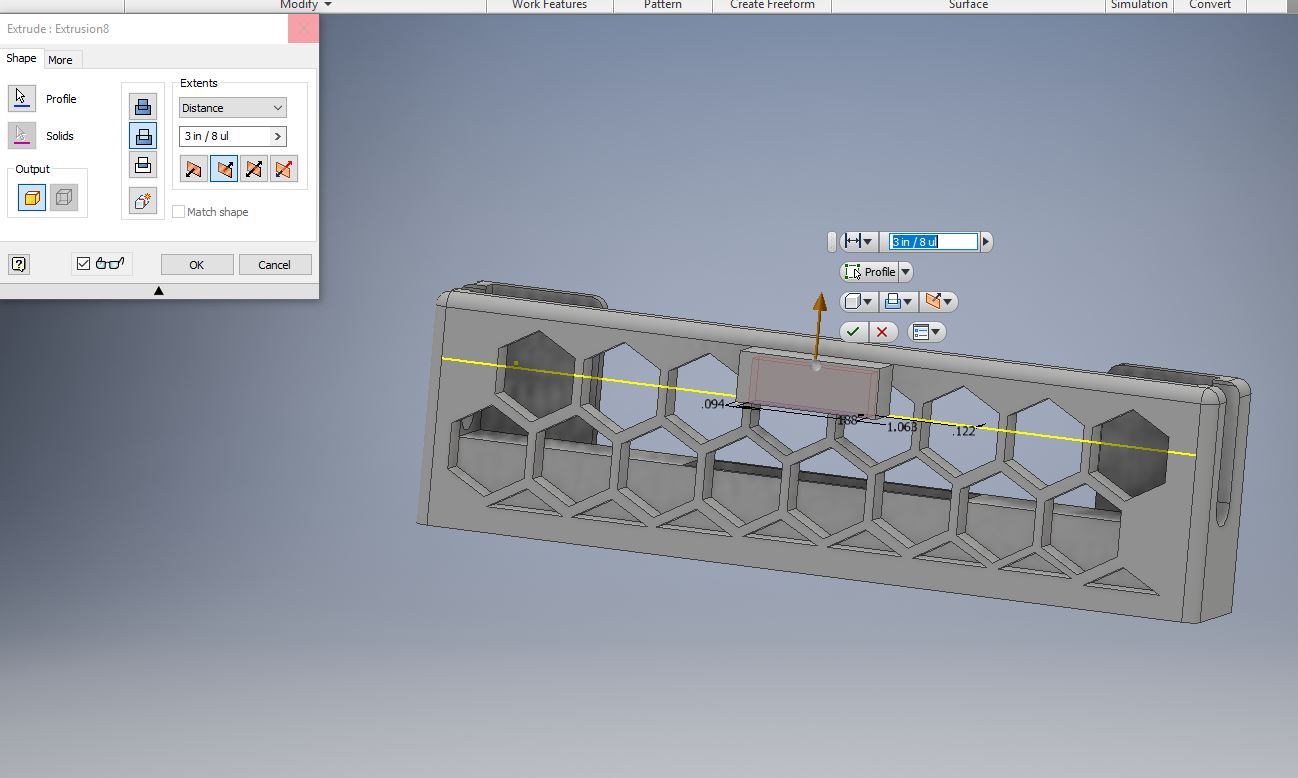
I then sketched the hold for the vent clip to go into, with the dimensions of .1875 inches by 1.0625 inches and extruded the sketch inwards for 3/8 of an inch. I also filleted the edges of the vent clip box for aesthetic purposes.
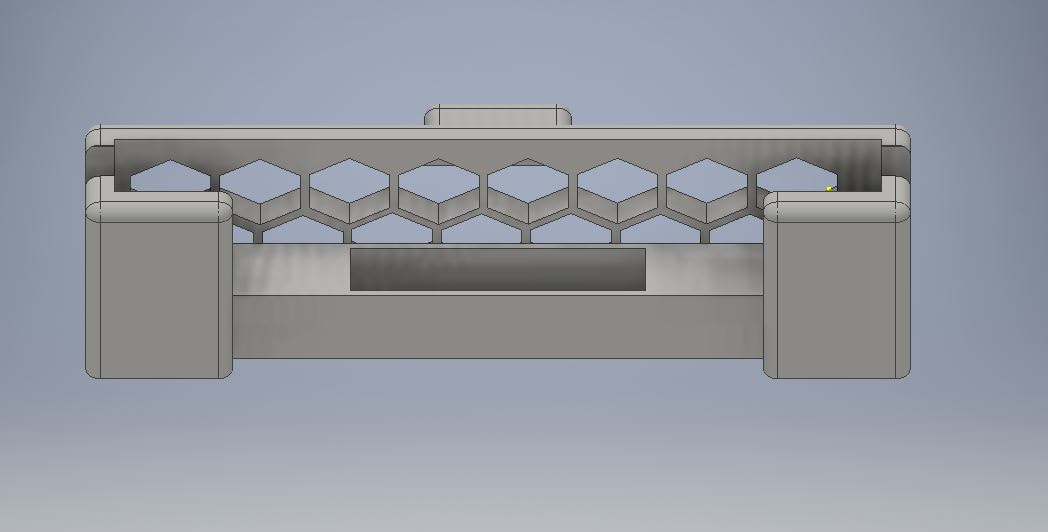
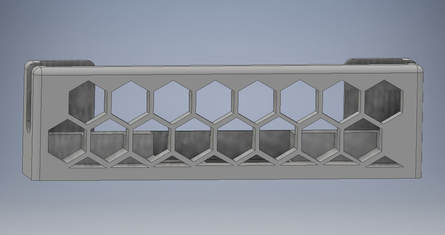
Finished Model!
3D Printing the Car Mount
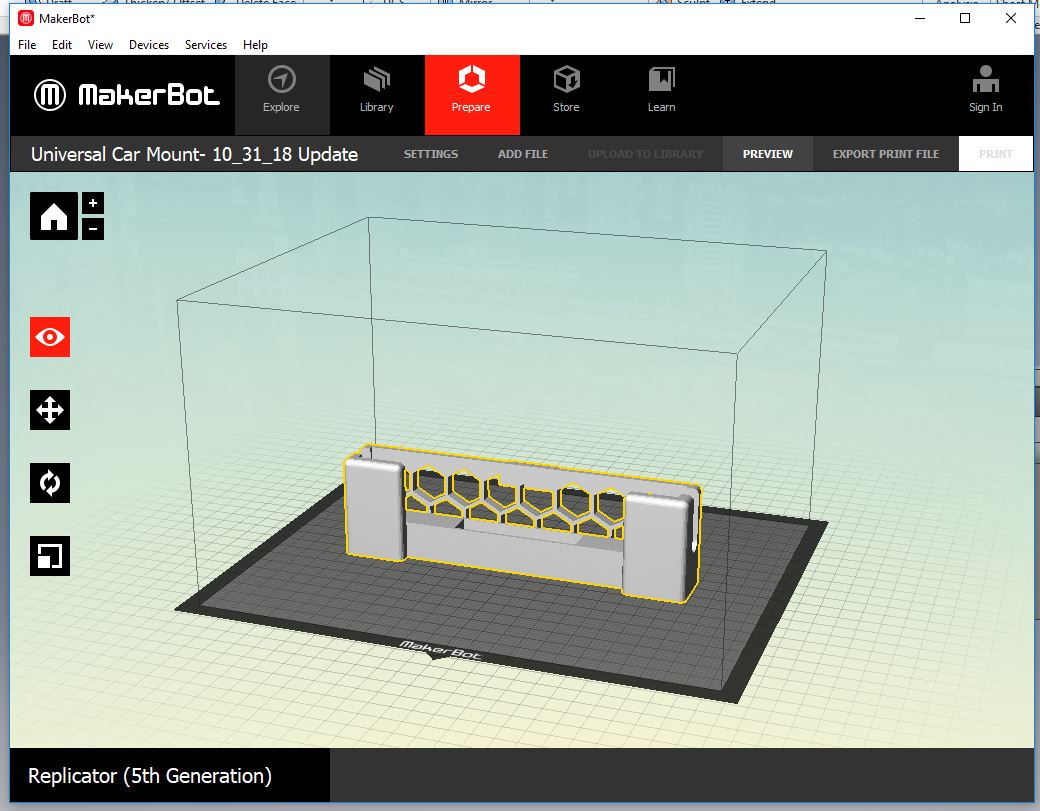
I converted my mount file to an stl file and exported it to my flash drive. Then I opened it in Makerbot Desktop, laid it flat, centered it, and enlarged it by 1000%. This is final prepared file in Makerbot.
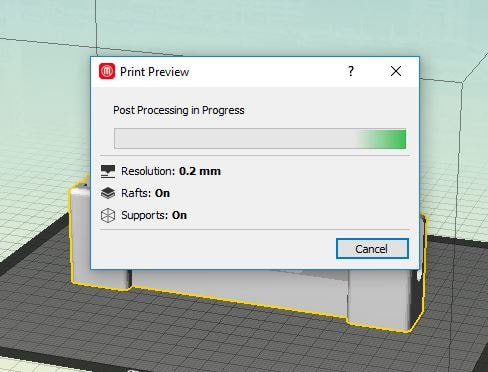
I made sure to turn my supports on since even in a position of minimum overhang the vent clip box will still have overhang.
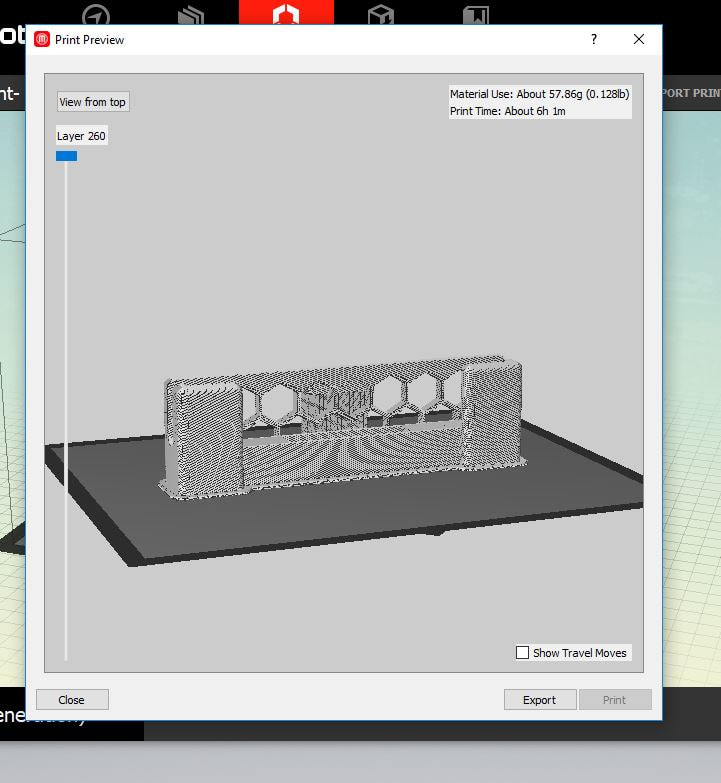
Here is my print preview, the print took around 6 hours to print out.

I took my MakerBot file on my flash drive to the printers and began printing. When it was finished I used some industrial automotive glue to secure the vent clip in the vent clip box.
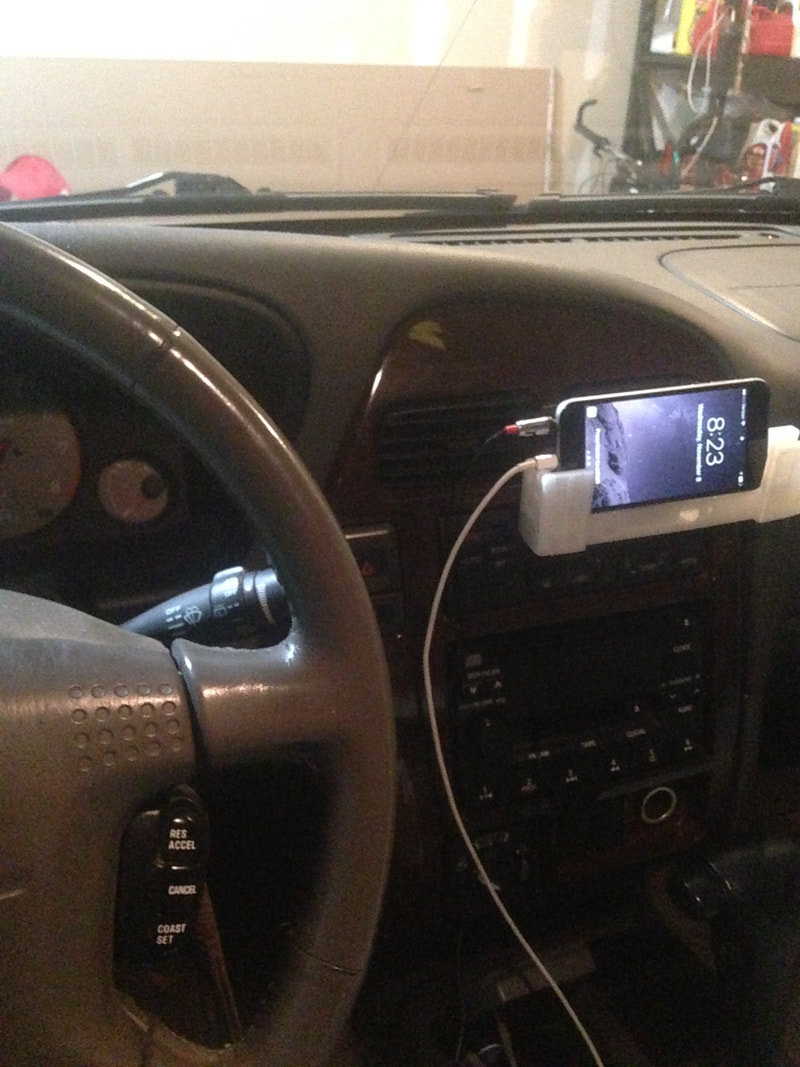
And it works!
What I Learned
In this project I learned that when companies design accessories for electronics there are a lot of measurements that go into that process. I also learned how to change out the filament in the Makerbots that is used to build the parts we print. I became much more familiar with the Inventor program and using it to make various shapes, indentations, and holes. I also finally learned what the filleting button does.
